

Nikon FG, a 35mm SLR from 1982-1984, offers program, aperture-priority, and manual modes․ It’s a compact, lightweight camera with advanced features for photographers․
Overview of the Nikon FG
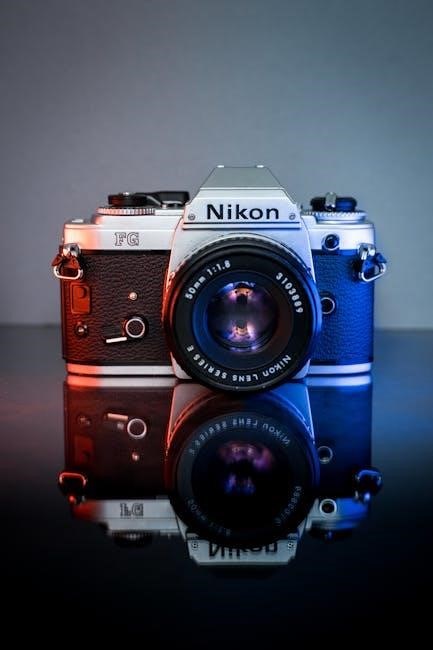
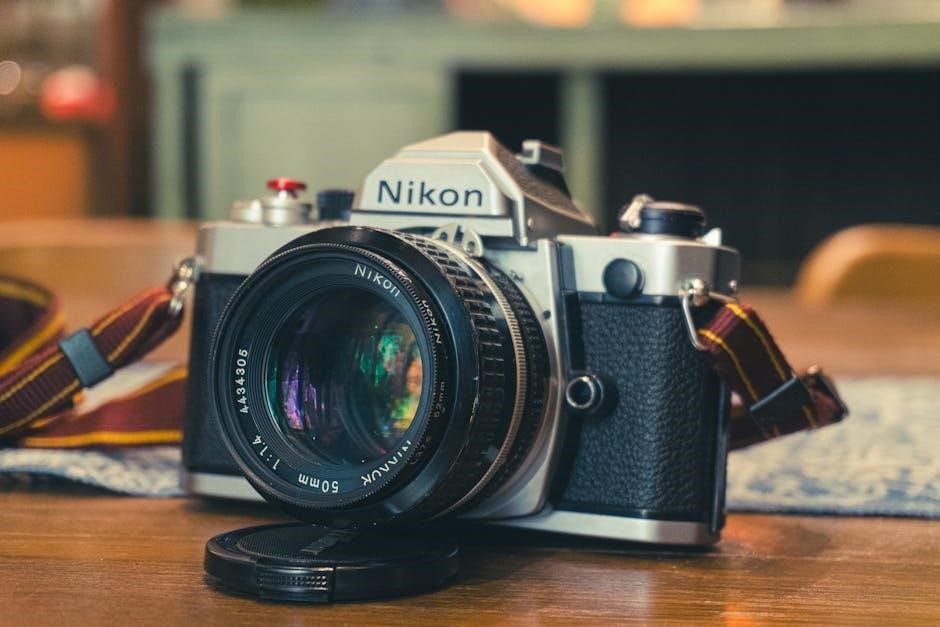
The Nikon FG, produced between 1982 and 1984 by Nippon Kōgaku, represents a significant offering in Nikon’s 35mm SLR lineup․ Positioned as a more accessible option, it succeeded the Nikon EM and preceded the FG20․ This camera distinguishes itself through its versatile exposure modes – Program, Aperture Priority, and full Manual – catering to a wide range of photographic preferences and skill levels․
Available in both black and silver finishes, the FG’s compact and lightweight design doesn’t compromise its functionality․ It provides access to Nikon’s extensive system of over sixty interchangeable lenses and numerous accessories, making it a truly adaptable photographic tool․ Careful study of the instruction manual is recommended to fully utilize its capabilities․
Key Features and Specifications
The Nikon FG boasts a selective-exposure system, granting photographers choices beyond automatic programming․ It includes aperture-priority and full manual control, enhancing creative flexibility․ Notable features encompass an exposure compensation dial and button, allowing for precise adjustments․ As part of the Nikon system, it’s compatible with over sixty interchangeable lenses and a wide array of accessories․
This camera’s design prioritizes user accessibility, offering advanced features in a compact body․ The manual emphasizes studying its instructions to unlock the FG’s full potential, ensuring photographers can effectively utilize its capabilities within the broader Nikon ecosystem․

Setting Up Your Nikon FG
To maximize your Nikon FG experience, carefully study this manual․ Understanding basic operations, controls, and features is crucial for optimal photographic results․
Inserting the Battery
The Nikon FG utilizes a standard 4LR44 or equivalent battery to power its functions․ Locate the battery compartment on the bottom of the camera body․ Gently slide the battery compartment cover latch to open it․ Insert the battery, observing the correct polarity – positive (+) and negative (-) – as indicated inside the compartment․ Ensure the battery is securely seated․ Close the battery compartment cover until it clicks shut․ Incorrect battery insertion can prevent the camera from operating or potentially damage it․ Always use a fresh battery for reliable performance․
Loading Film
To load film into your Nikon FG, first open the camera back by lifting the film rewind knob․ Insert the 35mm film cartridge into the film chamber on the left side․ Pull the film leader across the camera body and insert it into one of the slots on the take-up spool․ Advance the film using the film advance lever, ensuring the sprocket holes engage with the sprockets․ Close the camera back securely․ The frame counter will automatically advance as you shoot․ Rewind the film when finished, following the camera’s instructions․
Attaching and Removing Lenses
To attach a Nikon lens to your FG, align the lens mounting index with the corresponding mark on the camera body․ Gently push the lens inwards and rotate it clockwise until it clicks into place․ To remove the lens, press the lens release button located near the lens mount․ While holding the button, rotate the lens counterclockwise and carefully pull it away from the camera body․ Ensure the camera and lens mounts are clean to prevent damage․ Always handle lenses with care to avoid scratches or internal issues․

Exposure Modes Explained
The Nikon FG provides program, aperture-priority, and full manual exposure control, offering versatility for various shooting situations and creative photographic expression․
Program Mode
Nikon FG’s Program Mode automates both aperture and shutter speed settings, simplifying operation for general photography․ The camera analyzes the scene’s brightness and selects optimal values for exposure; This mode is ideal for snapshots and situations where quick, convenient settings are desired․ However, photographers relinquish direct control over these crucial elements․
While convenient, understanding that the camera is making these decisions is key․ Program mode prioritizes ease of use, allowing photographers to focus on composition and capturing the moment without complex calculations․ It’s a great starting point for beginners exploring the Nikon FG․
Aperture Priority Mode
In Nikon FG’s Aperture Priority Mode, the photographer sets the desired aperture (f-stop) to control depth of field, while the camera automatically selects the appropriate shutter speed for correct exposure․ This mode offers a balance between creative control and automation․ A wider aperture (lower f-number) creates shallow depth of field, ideal for portraits, while a narrower aperture (higher f-number) maximizes depth of field for landscapes․
Photographers must monitor the shutter speed to avoid motion blur, especially in low light․ Aperture Priority is excellent for controlling creative effects while simplifying exposure settings․
Manual Mode
Nikon FG’s Manual Mode grants the photographer complete control over both aperture and shutter speed, demanding a thorough understanding of the exposure triangle․ This mode is ideal for challenging lighting situations where automatic modes may struggle, or when a specific creative effect is desired․
Using the viewfinder’s exposure indicators, carefully adjust both settings to achieve proper exposure․ Manual mode requires practice, but offers ultimate artistic freedom․ It’s essential to understand how aperture affects depth of field and shutter speed impacts motion blur for optimal results․
Understanding the Nikon FG Controls
The Nikon FG features a shutter speed dial, aperture ring, and exposure compensation dial, providing precise control over photographic settings and creative options․
Shutter Speed Dial
The shutter speed dial on the Nikon FG controls the duration of light reaching the film․ It’s located on the top of the camera body and allows you to select speeds ranging from 1 second to 1/1000th of a second, plus bulb (B) for long exposures․
In Program mode, the camera automatically selects the appropriate shutter speed․ However, in Aperture Priority and Manual modes, you have full control․ Remember that faster shutter speeds freeze motion, while slower speeds allow more light in but can result in motion blur․ The ‘B’ setting keeps the shutter open as long as the shutter release button is pressed, ideal for night photography or light painting․
Aperture Ring
The aperture ring, found on Nikon FG lenses, controls the lens opening, influencing both image brightness and depth of field․ It’s typically marked with f-numbers like f/2․8, f/4, f/5․6, and so on․ Lower f-numbers (e․g․, f/2․8) create a shallow depth of field, blurring the background, while higher f-numbers (e․g․, f/16) increase depth of field, keeping more of the scene in focus․
In Aperture Priority mode, you set the aperture, and the camera selects the shutter speed․ In Manual mode, you control both aperture and shutter speed․ Adjusting the aperture affects the amount of light entering the camera․
Exposure Compensation Dial
The Exposure Compensation Dial on the Nikon FG allows you to fine-tune the camera’s exposure in Program or Aperture Priority modes․ It overrides the camera’s metering system, letting you brighten or darken images․ Marked with + and ― values (typically in EV steps), it’s useful when shooting scenes with unusual lighting, like snow or backlit subjects․
Turning the dial towards ‘+’ increases exposure, making the image brighter, while ‘-‘ decreases exposure, darkening it․ This ensures accurate exposure when the camera’s automatic settings aren’t ideal․

Using the Viewfinder
The Nikon FG viewfinder provides focusing aids and exposure indicators for precise shooting․ Utilize the depth of field preview for optimal image control․
Focusing Aids
The Nikon FG’s viewfinder incorporates several focusing aids to help achieve sharp images․ A split-image rangefinder is centrally located, displaying a blurred image when focus is off․ Rotating the focus ring on the lens causes the split image to align, indicating critical focus․
Additionally, a fine matte field surrounding the split-image enhances visibility, especially in low light․ Microprism collars further assist in fine-tuning focus, creating a shimmering effect when slightly out of focus․ Mastering these aids ensures consistently sharp photographs with your Nikon FG․
Exposure Indicators
The Nikon FG’s viewfinder features LED exposure indicators to assist in achieving proper exposure․ These indicators illuminate to signal whether the selected shutter speed and aperture combination will result in overexposure (+), underexposure (-), or correct exposure (no indicator)․
In Program mode, the camera automatically selects the appropriate settings, and the LEDs confirm the chosen exposure․ When using Aperture Priority or Manual mode, these indicators guide adjustments for optimal results, ensuring well-exposed images consistently․ Understanding these indicators is crucial for effective use․
Depth of Field Preview
The Nikon FG incorporates a depth of field preview lever, allowing photographers to visualize the area of acceptable sharpness at a chosen aperture․ Engaging this lever stops down the lens to the selected f-stop, simulating the final image’s depth of field within the viewfinder․
This feature is invaluable for landscape and portrait photography, ensuring critical focus is achieved․ By previewing the depth of field, you can confidently adjust your focus point and aperture for desired creative effects, resulting in sharper, more impactful photographs․

Advanced Features
The Nikon FG boasts a self-timer, multiple exposure capability, and a straightforward film rewind and reset mechanism for versatile photographic control․
Self-Timer Operation
Nikon FG’s self-timer allows for delayed shutter release, perfect for group photos or when the photographer wants to be included in the shot․ To activate, move the self-timer lever, located on the left side of the camera, to the ‘B’ or ‘T’ position․ The shutter release button then becomes the self-timer activation․
Pressing the shutter release initiates a roughly 10-second delay before the shutter fires․ A blinking LED in the viewfinder indicates the timer is active․ The self-timer cancels automatically after the shutter release, or by returning the self-timer lever to its original position․ Remember to compose your shot and be ready before the timer expires!
Multiple Exposure Function
The Nikon FG offers a multiple exposure capability, allowing you to combine several images onto a single frame of film․ To engage this feature, after taking a picture, press and hold the film rewind button while advancing the film to the next frame․ This prevents the film from advancing, enabling you to take another exposure on the same frame․
Repeat this process for each desired exposure․ Once finished, release the rewind button and advance the film normally․ Be mindful of overexposure; consider using negative film or adjusting aperture settings to compensate for cumulative light․
Film Rewind and Reset
To rewind the film, press the rewind release button on the camera’s base․ Then, turn the rewind crank clockwise until you feel resistance lessen, indicating the film leader has cleared the canister․ Once fully rewound, open the camera back to remove the film cartridge․ After removing the film, you must reset the film counter․
Press the small reset button located near the film counter dial with a pen or similar object․ This returns the counter to the ‘S’ position, ready for loading a new roll of film․ Ensure the counter is fully reset before inserting fresh film․

Maintenance and Troubleshooting
Regular cleaning and addressing common issues will ensure your Nikon FG functions optimally․ Careful study of the manual aids in resolving potential problems․
Cleaning the Camera
To maintain your Nikon FG, regular cleaning is essential․ Gently brush away dust from the body and lens with a soft brush or blower․ Avoid using abrasive cleaners or solvents, as these can damage the camera’s finish․ For the viewfinder, use a dedicated lens cleaning tissue to remove smudges․ Inspect the film chamber for any debris after each roll․ The shutter curtain is delicate; do not attempt to clean it yourself․ If the camera requires more thorough cleaning, consider professional servicing to ensure optimal performance and longevity of your valuable photographic tool․
Common Issues and Solutions
If your Nikon FG’s shutter doesn’t fire, check the battery and ensure the film is loaded correctly․ A dim viewfinder might indicate a low battery or incorrect exposure settings․ Light leaks can occur with improper film loading or a damaged light seal – consider replacement․ Sticky shutter speeds often require professional servicing․ If the exposure compensation dial is unresponsive, gently try adjusting it․ Remember, forcing any control can cause further damage․ For complex issues, consulting a qualified camera repair technician is always the recommended course of action․

Nikon FG Accessories
The Nikon FG is compatible with over sixty interchangeable Nikon lenses and a wide range of accessories, enhancing its versatility for diverse photographic needs․
Compatible Lenses
The Nikon FG boasts exceptional compatibility within the broader Nikon system, accepting a vast array of Nikon F-mount lenses․ This includes both older, manual focus lenses and newer autofocus lenses, though autofocus functionality will be limited to manual focusing with the FG․

Specifically, lenses from the Nikon N and F series are fully compatible, offering photographers a huge selection of focal lengths and features․ Exploring vintage lenses can be a rewarding experience, providing unique character and image quality․ Remember to check for compatibility with the camera’s metering system when using older lenses․
Optional Accessories
Enhance your Nikon FG experience with a range of optional accessories․ A dedicated Nikon flash unit will significantly improve low-light photography, offering various modes and features․ External light meters provide more precise exposure control, especially in challenging lighting conditions․
Consider a remote cable release for long exposures and minimizing camera shake․ Lens filters, such as UV or polarizing filters, protect your lens and enhance image quality․ A comfortable neck strap or hand grip improves handling and portability․ Explore the extensive Nikon system for further customization!